How to Do Simple Valentine Nails in Under 20 Minutes

Valentine’s Day always sneaks up faster than expected — and suddenly you’re scrambling to look cute from head to toe. But here’s the good news: you don’t need a salon appointment or fancy nail art skills to have adorable Valentine nails. With a few simple tools and easy techniques, you can create romantic, Instagram-worthy nails in under 20 minutes.
Whether you’re heading out for a date, a Galentine’s brunch, or just want to feel festive, these quick nail ideas have you covered.
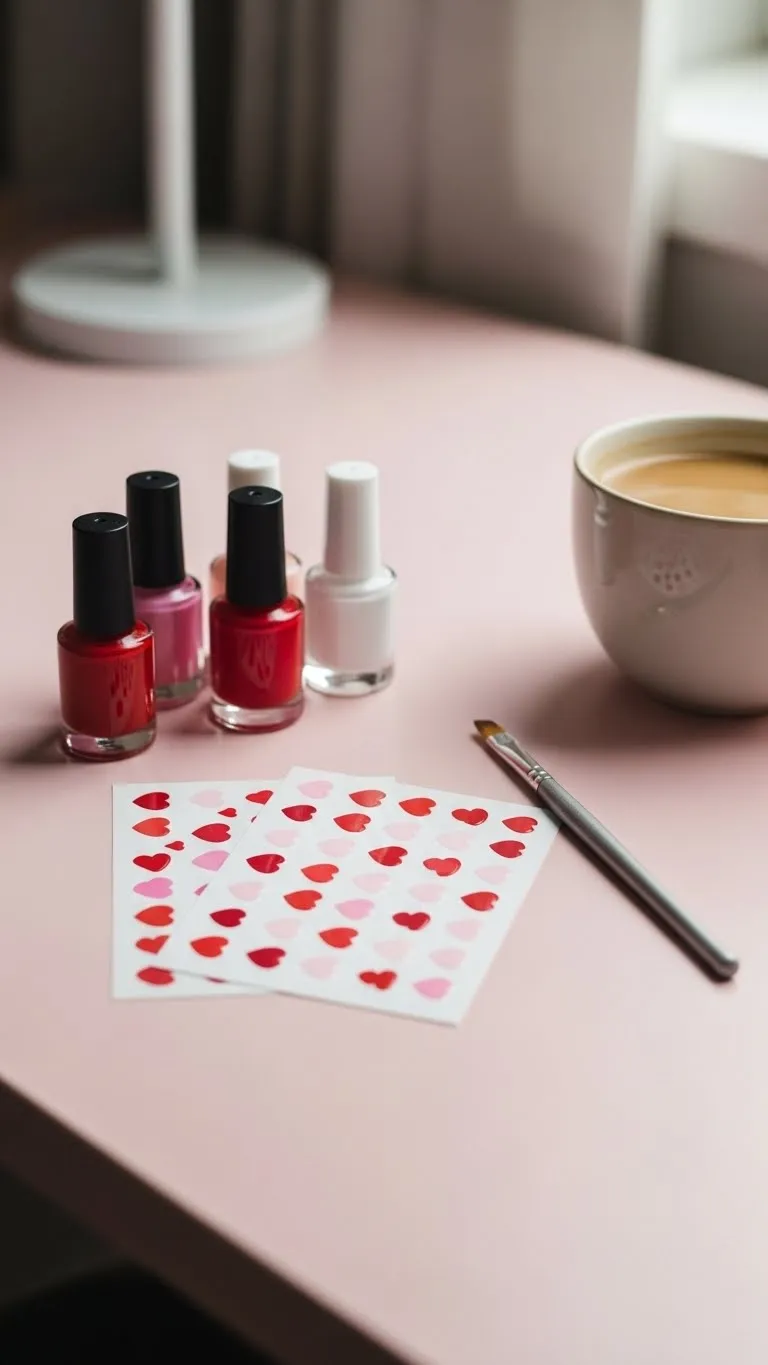
What You’ll Need (Keep It Simple!)
You don’t need a full nail kit to pull this off. Stick to the basics:
-
Base coat
-
Red, pink, white, or nude polish
-
A toothpick or bobby pin (for hearts & dots)
-
Nail stickers or decals (optional)
-
Top coat for shine
-
Cotton swabs + remover (for quick fixes)
Time-saving tip: Choose fast-drying polish so you’re not stuck waiting around.
Step 1: Prep Your Nails in 5 Minutes
Quick prep = better results.
-
Remove old polish
-
File your nails into a simple shape (square or soft round works best)
-
Push back cuticles gently
-
Apply a thin base coat
You don’t need perfection — just clean, smooth nails.
Step 2: Pick a Fast Valentine Color Combo
Keep your color palette simple for faster results:
-
Classic Red + White
-
Soft Pink + Nude
-
Cherry Red + Blush Pink
-
Milky White + Tiny Red Hearts
Minimal colors = less cleanup and faster drying.

Step 3: Easy Heart Designs (No Skills Required)
Hearts are the ultimate Valentine symbol — and they’re easier than you think.
Option A: Toothpick Heart
-
Add two tiny dots close together
-
Drag them downward to form a heart
-
Clean edges with a cotton swab
Option B: Sticker Hearts
Just stick, press, and seal with top coat.
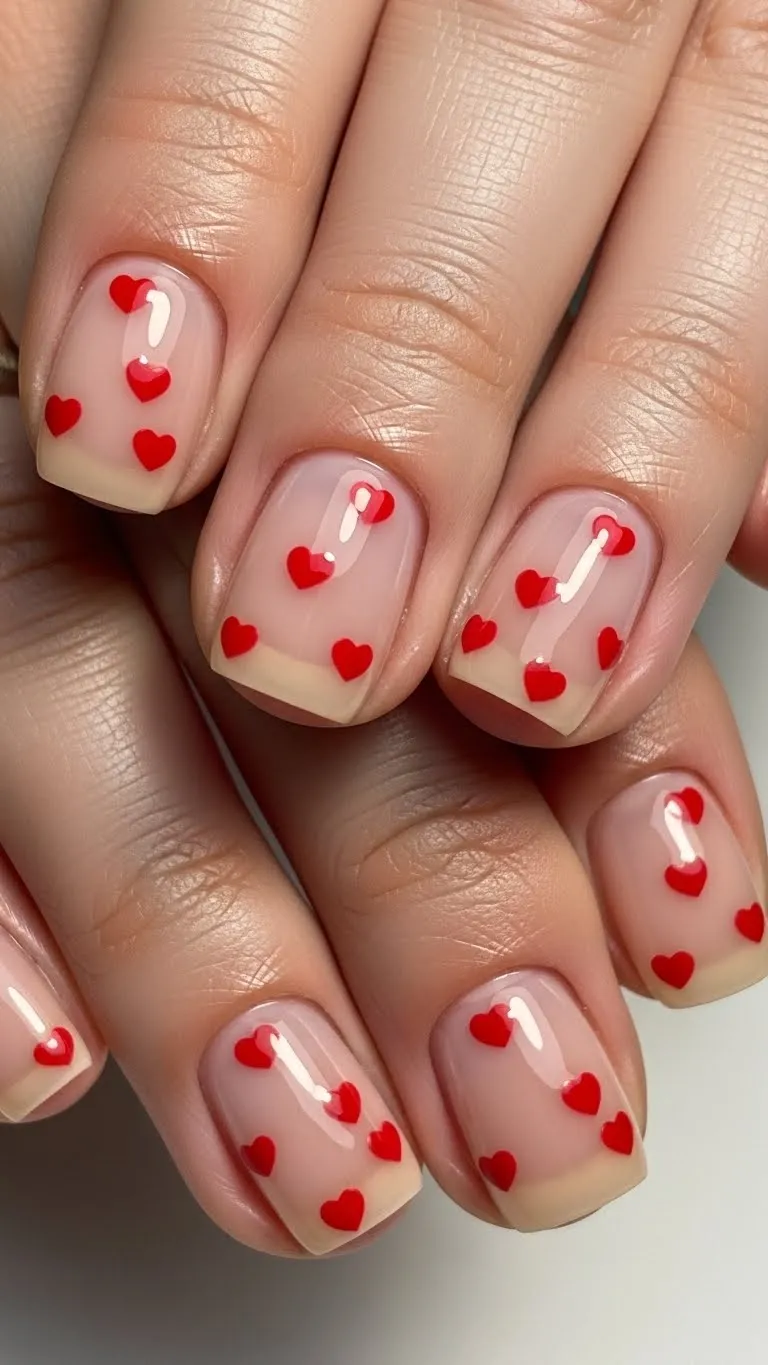
Option C: Micro Hearts
Small hearts look cute even if they’re not perfect.
Step 4: Try These 5-Minute Valentine Nail Ideas
Short on time? These designs are fast and foolproof:
1. Accent Heart Nail
Paint all nails one color, then add a heart on just one nail.
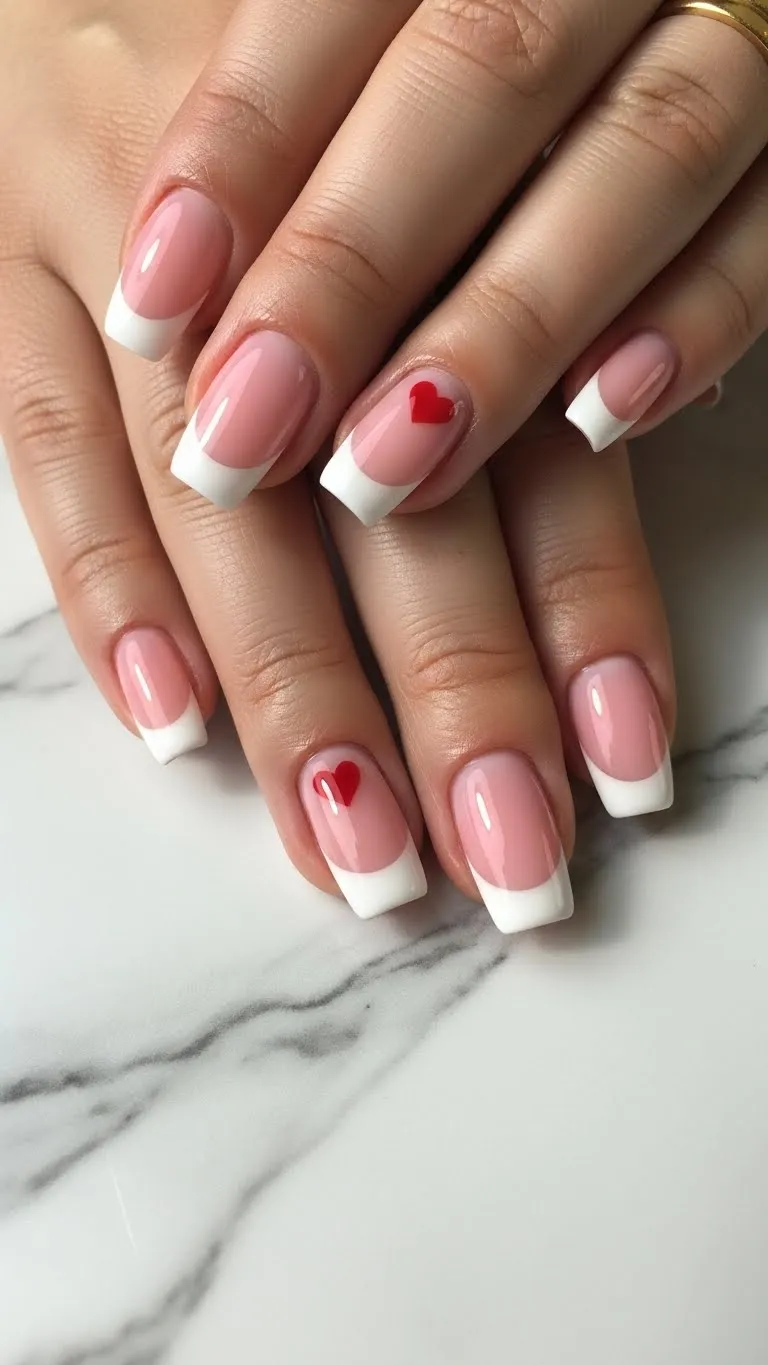
2. French Tip With a Twist
White or red tips + tiny heart on the ring finger.
3. Polka-Dot Love
Red and pink dots on a nude base.
4. Minimal Line Hearts
Outline hearts instead of filling them in — faster and trendy.
5. Sticker Magic
Let the stickers do the work for you.
Step 5: Seal It & Shine
Finish with a glossy top coat to:
-
Lock in your design
-
Add instant salon-level shine
-
Help your manicure last longer
Let nails dry for 5–7 minutes before touching anything.
Pro tip: Wave your hands gently in the air — it helps polish set faster.
How to Fix Mistakes Fast
Don’t stress over small smudges.
-
Dip a cotton swab in remover
-
Clean edges carefully
-
Reapply top coat
Tiny imperfections actually make DIY nails look more natural and cute.
20-Minute Valentine Nail Timeline
Here’s how the whole process fits into your busy day:
| Task | Time |
|---|---|
| Prep + base coat | 5 minutes |
| Color + design | 10 minutes |
| Top coat + drying | 5 minutes |
Total: 20 minutes or less 💖
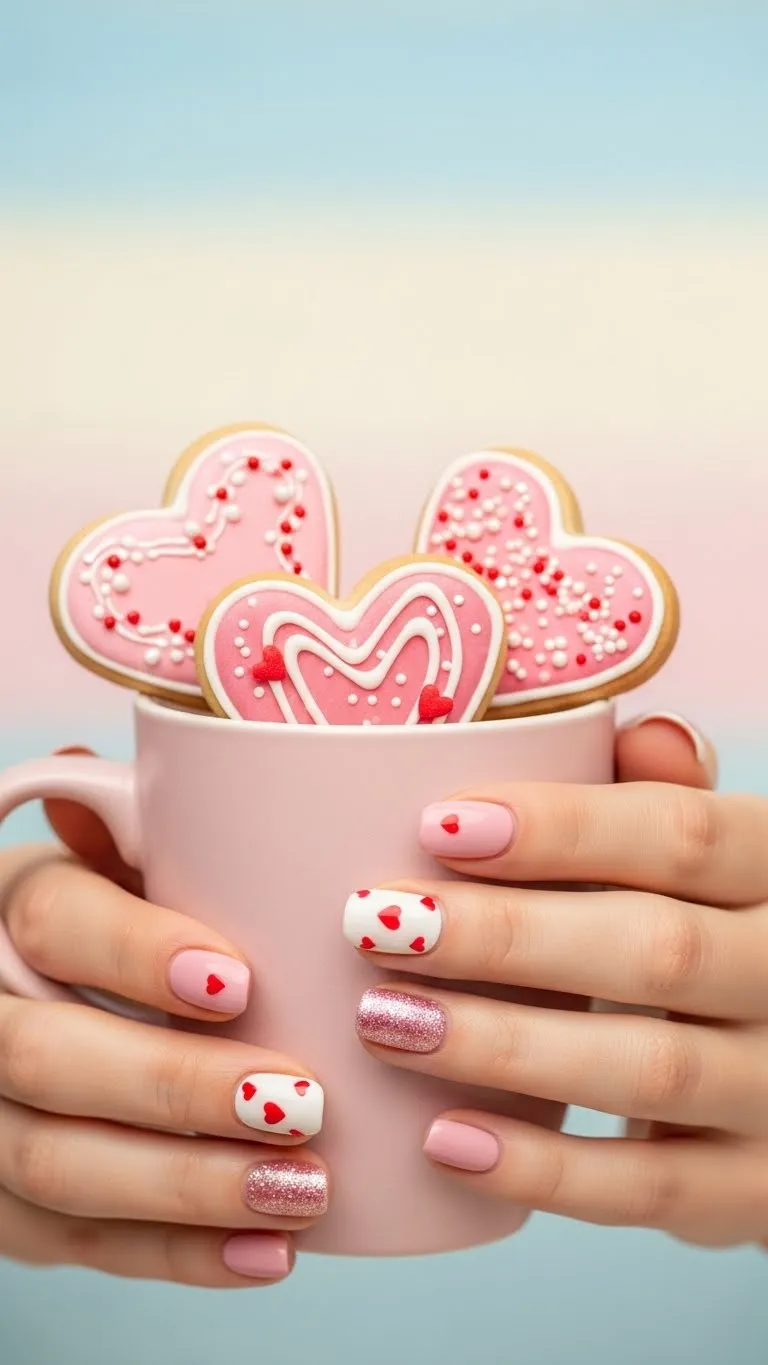
Pinterest-Perfect Nail Styling Tips
Want your nails to look amazing in photos?
-
Hold a coffee cup or heart-shaped candy
-
Use soft lighting
-
Keep the background simple
-
Add cozy textures (blankets, sweaters, flowers)
Best Colors for Every Valentine Vibe
-
Romantic: Deep red + white
-
Soft & Sweet: Baby pink + nude
-
Trendy: Milky white + tiny red accents
-
Bold: Hot pink + black hearts
You don’t need fancy shades — even basic drugstore polish works beautifully.
Final Touch: Keep It Simple, Keep It Cute
The secret to great Valentine nails isn’t perfection — it’s simplicity. A clean base, a few hearts, and a glossy finish are all you need to feel festive and confident.
You don’t need expensive tools.
You don’t need advanced skills.
You just need 20 minutes and a little creativity.
So grab your polish, put on your favorite playlist, and create something cute for yourself this Valentine’s Day. 💕
Ready to try it? Save this guide, pick your favorite design, and start painting! 💅💗